Measure and assess products before cutting bubble packaging
Before picking up scissors to cut bubble packaging, taking accurate measurements and assessing the product’s shape is essential. Start by measuring the product’s length, width, and height with a tape measure. Note any irregular features like protruding handles, curved surfaces, or sharp edges—these will affect how you cut the bubble packaging. For example, a product with a curved base needs bubble packaging that can wrap smoothly without creases, while one with sharp corners requires extra padding around those points. Decide how much cushioning you need: fragile items need at least two layers of bubble packaging, so factor that into your measurements. Sketching a quick outline of the product can help you visualize how to cut the bubble packaging for a snug fit. Taking these steps ensures you don’t waste bubble packaging by cutting it too big or too small, and that the product gets full protection.
Choose the right tools for cutting bubble packaging
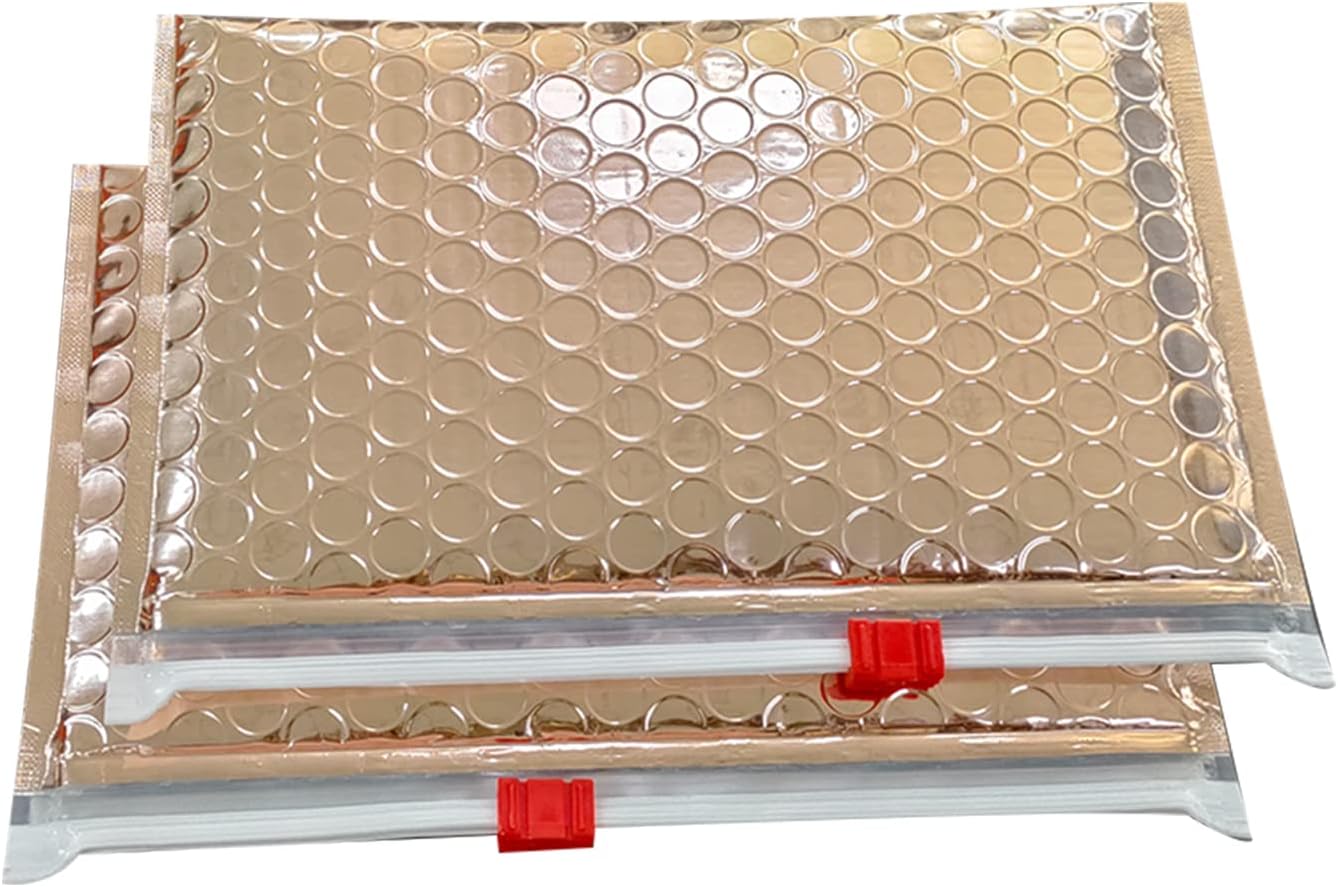
Using the correct tools makes cutting bubble packaging clean and easy, preventing damage to the bubbles that provide cushioning. Sharp scissors or utility knives work best—dull tools will crush the bubbles instead of cutting through the material. For straight cuts, a ruler or straightedge helps keep lines neat. If you’re cutting large sheets of bubble packaging, a rotary cutter paired with a cutting mat is more efficient and reduces hand fatigue. Avoid using tearing or ripping the bubble packaging by hand, as this creates uneven edges and can puncture nearby bubbles. Make sure your tools are clean to prevent dirt or debris from transferring to the bubble packaging, which could scratch delicate products. Having the right tools on hand ensures that every cut is precise, preserving the bubble packaging’s protective properties.
Master basic cutting techniques for common product shapes
Different product shapes require different cutting techniques to get the best fit with bubble packaging. For flat or rectangular items like books, tablets, or small boxes, cut a rectangular sheet of bubble packaging slightly larger than the product. Fold the sides over the product, overlapping the edges by an inch or two for full coverage. For cylindrical items such as bottles or cans, cut a rectangular strip of bubble packaging with a width equal to the product’s circumference plus a few inches. Wrap the strip around the product, then cut a circular piece for the top and bottom to seal it in. For irregularly shaped items like figurines or tools with multiple parts, use the “patchwork” technique: cut small, custom-sized pieces of bubble packaging to cover each section, then tape them together for a tailored fit. Always cut the bubble packaging with the bubble side facing the product—this way, the bubbles press directly against the surface for maximum cushioning.
Handle complex shapes with tailored bubble packaging cuts
Cutting bubble packaging for complex shapes takes a bit more patience, but the result is a snug, protective wrap. For products with protruding parts like handles, straps, or knobs, cut notches in the bubble packaging to fit around them. Make the notches slightly smaller than the protrusion—this ensures a tight fit without stretching the bubble packaging. For products with hollow areas or indentations, cut small pieces of bubble packaging to fill those spaces, preventing the product from shifting inside the wrap. If the product has both hard and fragile parts (like a blender with a glass jar and plastic base), cut thicker pieces of bubble packaging for the fragile areas and thinner pieces for the sturdy parts. For asymmetrical items, cut the bubble packaging in sections and layer them where extra protection is needed. The goal is to make the bubble packaging conform to the product’s shape, leaving no gaps that could allow movement during transit.
Trim and adjust for a perfect fit and extra protection
After cutting and wrapping the product with bubble packaging, trimming and adjusting ensure a perfect fit and maximum protection. Check for any excess bubble packaging that’s bulky or might come loose—trim it with scissors to create a neat finish. If the wrap feels loose, add a small strip of bubble packaging or a piece of tape to secure it. For fragile items, double-check that all vulnerable areas (corners, edges, protruding parts) have enough bubble coverage—add extra layers if needed. Press gently on the wrapped product to test the cushioning: you should feel the bubbles give slightly, but not the hard surface of the product. If the bubble packaging shifts when you move the product, add more tape along the seams to hold it in place. Taking these final steps ensures that the bubble packaging fits like a glove, protecting the product from damage while keeping the package compact and easy to handle.
 Hot News
 EN
EN