Prepare the kraft box and workspace for smooth folding
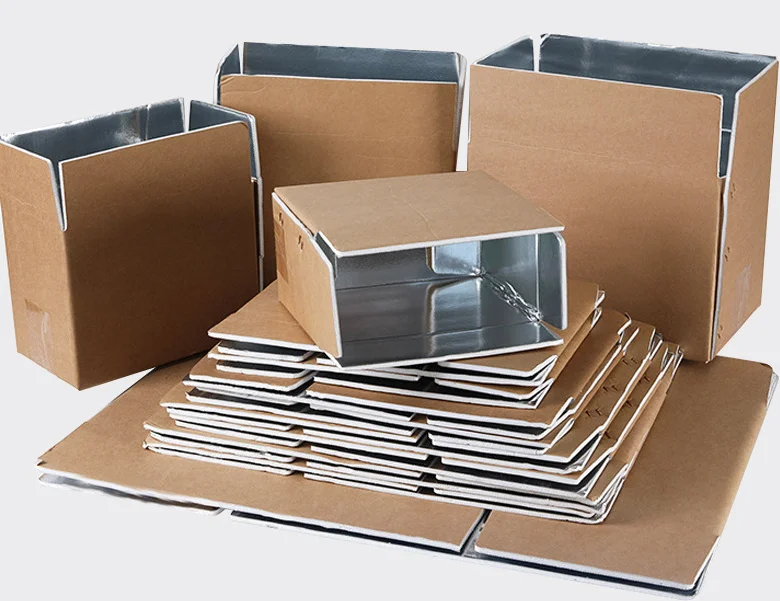
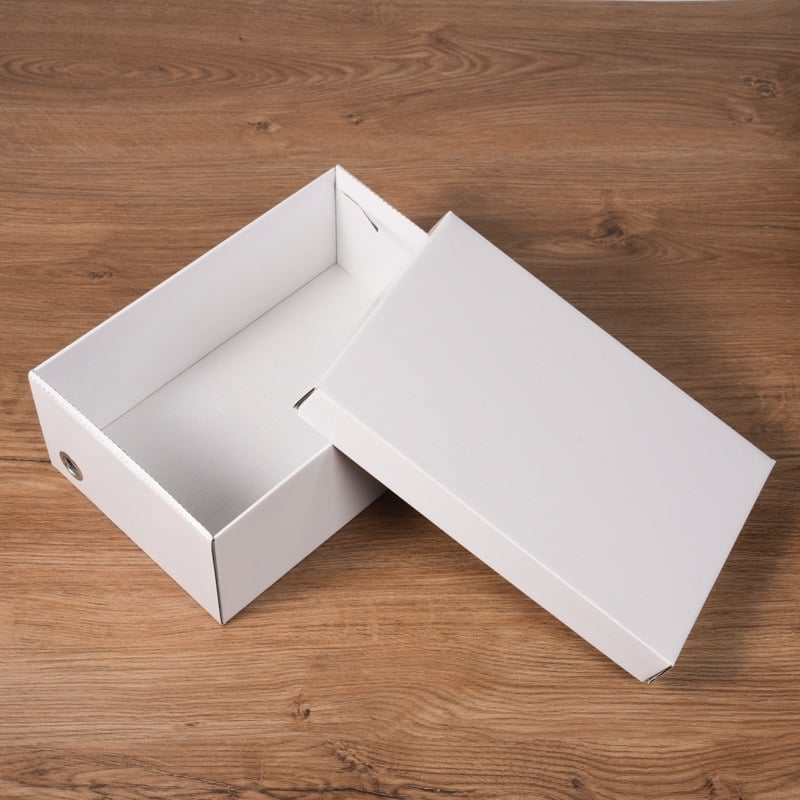
Folding a kraft box neatly starts with proper preparation—rushing into it without setup often leads to crooked edges or misaligned flaps. First, take the flat kraft box out of storage and lay it on a clean, flat surface like a table or countertop. Smooth out any wrinkles or creases with your hands—flat surfaces help the box fold along its pre-scored lines more easily. Inspect the kraft box for any tears or damaged flaps; even small rips can ruin the neat finish, so replace the box if needed. Gather a pair of scissors (for trimming excess material if necessary) and a bone folder or the back of a spoon—this tool helps create sharp, clean creases without damaging the kraft paper. Make sure the workspace is clutter-free so you can move the kraft box around easily. Taking 2-3 minutes to prep ensures the folding process goes smoothly and results in a tidy, professional-looking box.
Master the basic fold sequence for kraft box structure
Every kraft box has a specific fold sequence that follows its pre-scored lines—skipping steps or folding out of order leads to a lopsided final product. Start by identifying the bottom flaps: most kraft boxes have two shorter “inner” flaps and two longer “outer” flaps. First, fold the side walls of the kraft box upward along the vertical score lines, pressing firmly to crease each edge. Then, fold the two shorter bottom flaps inward, making sure they lie flat against the bottom of the box. Press along their creases with your bone folder to lock them in place. Next, fold the longer bottom flaps over the shorter ones—they should overlap completely, covering the inner flaps with no gaps. Crease the edges sharply to ensure the bottom is rigid. For the top flaps, repeat the same sequence when you’re ready to seal the box: short flaps first, then long ones. Following this basic sequence ensures the kraft box maintains its shape and folds into a neat, square structure.
Focus on sharp creases for a polished kraft box look
Sharp, defined creases are the secret to a neat kraft box—soft or uneven creases make the box look messy and weak. After folding each flap or wall, use a bone folder, credit card, or the back of a spoon to press along the crease firmly. Hold the tool at a 45-degree angle and glide it along the edge to create a crisp line. For thicker kraft boxes, you may need to press harder or go over the crease a few times. Avoid using your fingernails alone—they can leave indentations or tear the kraft paper, especially if the box is made of thicker material. When folding vertical walls, stand the kraft box up and press the creases from top to bottom to ensure they’re straight. Sharp creases not only make the kraft box look tidy but also strengthen its structure, helping it hold its shape better during packing and shipping.
Adjust for tight, gap-free folds in kraft boxes
A neat kraft box should have no gaps between flaps and tight, snug folds that don’t shift. If you notice gaps between the bottom flaps, unfold them and check if you folded along the correct score lines—misalignment is the most common cause. For gaps along the side walls, gently pull the walls outward slightly while pressing the creases to make them fit together snugly. If the top flaps won’t overlap neatly, trim any excess material with sharp scissors (but be careful not to cut too much—err on the side of small trims). For kraft boxes with interlocking flaps, make sure the tabs fit into their designated slots firmly—wiggling the tabs slightly can help them lock in place. After folding, give the kraft box a gentle shake to test for loose flaps; if anything moves, refold that section and crease it again. Gap-free folds not only look better but also prevent the box from collapsing or opening during use.
Tips for folding irregular or custom-sized kraft boxes
Irregular or custom-sized kraft boxes (like those for long items, tapered products, or small gifts) need a few extra tricks to fold neatly. For long, narrow kraft boxes, fold the ends first before the sides—this helps maintain the box’s length and prevents it from bending. For tapered kraft boxes (wider at the top than the bottom), focus on aligning the tapers as you fold the walls—press each side wall gently to match the taper angle before creasing. For small kraft boxes (like jewelry or gift boxes), use your fingertips to fold the flaps carefully, as large hands can easily crumple the small surface area. If the kraft box has decorative elements or printed logos, fold with the printed side facing outward and align the design as you fold—this ensures the logo stays centered and straight. For extra neatness, after folding, wrap a strip of kraft tape around the bottom and top edges of the box—this reinforces the creases and gives the box a seamless, polished finish. With these tips, even custom kraft boxes fold into tidy, professional packages.
 Hot News
 EN
EN